How to Properly Take Screenshots on MacBook: Quick and Effective Tips for 2025
How to Take a Screenshot on MacBook: Quick and Effective Tips for 2025
Have you ever found yourself needing to capture something on your MacBook? Whether it’s a critical piece of information or a memorable moment, knowing how to take a screenshot on MacBook can save you time and effort. With the ever-evolving features of macOS, this guide will provide you with quick and effective instructions on using various methods to take screenshots of your screen in 2025.
Understanding MacBook Screenshot Shortcuts
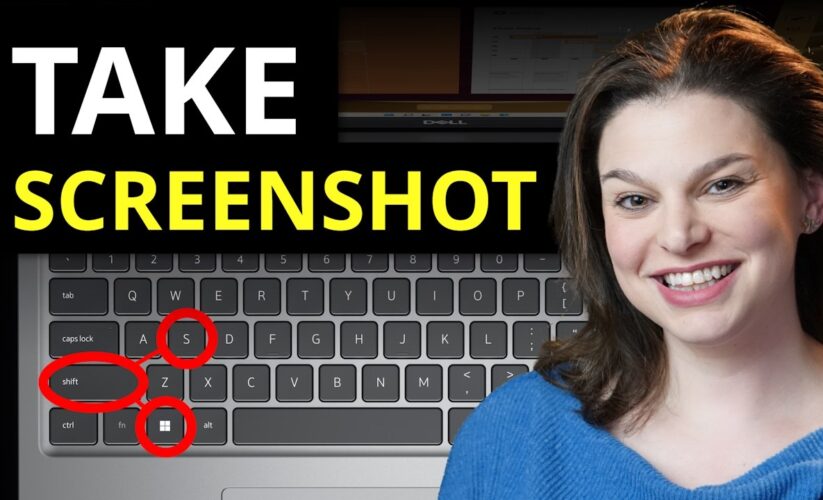
Taking screenshots has never been easier thanks to built-in MacBook screenshot shortcuts. The most utilized method is through keyboard shortcuts. Familiarizing yourself with these commands ensures you can capture images quickly without navigating through lengthy menus. For instance, to take a full screenshot of your display, use the combination Command + Shift + 3. This captures your entire screen and saves it directly to your desktop for easy access.
Using Command Shift 4 for Selections
The screenshotting functionality becomes more refined with the Command + Shift + 4 shortcut. This command allows you to select a specific portion of your screen to capture. Once activated, your cursor will turn into a crosshair. Click and drag over the desired area, then release your mouse or trackpad button. This feature is particularly useful for grabbing screenshots of smaller areas without capturing the entire screen, making it easier to focus on specific details you want to highlight.
Taking Screenshots with Keyboard Combinations
Keyboard combinations are the foundation for taking screenshots easily on Mac. Another valuable combination is Command + Shift + 5, which opens up the screenshot toolbar. From here, you can choose options for taking either fullscreen, selected window, or selected portion screenshots. Additionally, you can set a timer and configure other features that optimize your screenshotting experience based on your unique needs.
Exploring Screenshot Settings on Mac
Before diving into capturing screens, it’s crucial to explore your Mac screenshot settings. Access the Screenshot app by typing Command + Shift + 5. Within the settings, you can choose where your screenshots will be saved, whether as PNG files, JPEGs, or even in the Clipboard. By customizing these settings, you ensure a seamless experience tailored specifically to your preferences, whether you’re using a MacBook Pro screenshot or a MacBook Air.
Editing Mac Screenshots After Capturing
Once you’ve taken your screenshot, the next step is often to edit it. Many users seek editing Mac screenshots for various reasons, including annotation, cropping, and enhancing the overall quality. The built-in Photos app and Preview tool on a MacBook allow you to edit screenshots effortlessly. You can highlight parts, add arrows, or even crop areas you don’t need, ensuring that your captures convey the intended message clearly.
Using Preview for Screenshots
Preview is a widely recognized tool that can be utilized after capturing your screenshot. To use Preview for Mac screenshots, simply open the image file in Preview. From there, use the annotation features to add text, shapes, and even signatures. For instance, if you’re sharing a screenshot for a work project, these annotations can help clarify specific points or emphasize essential elements, making your communication more effective.
Annotating Mac Screenshots for Presentations
When creating presentations, it’s critical to relay information clearly. Incorporating annotations on Mac screenshots can help achieve this. By using tools like the Markup tool in Preview, or even screenshots directly from applications like Keynote, you can create engaging visuals that retain the attention of your audience. Labels, arrows, and highlighting options improve the narrative you are presenting, which is invaluable in any professional setting.
Managing and Organizing Your Screenshots
After capturing and editing your screenshots, managing them effectively is crucial. With so many images piling up on your MacBook, keeping your files organized saves you time and avoids confusion. Consider establishing a dedicated folder for your screenshots, and routinely transferring newly captured images into this directory for organization. Moreover, using tagging or descriptive file names helps in locating images when you’re in a hurry.
Sharing MacBook Screenshots Efficiently
Sharing is an integral part of capturing screenshots, especially in collaborative environments. You can utilize the sharing MacBook screenshots feature directly from the screenshot toolbar. Options like AirDrop or emailing directly from the toolbar expedite the process, allowing you to send your captures instantly to colleagues or team members. This feature integrates smoothly with various applications like Mail and Messages, making the dissemination of images straightforward and efficient.
Transferring Screenshots to Other Devices
Transferring screenshot files comes in handy, especially when you need to access these visuals on other devices. The simplest way is to leverage AirDrop or cloud storage solutions like iCloud Drive. By storing your screenshots in the cloud, you can access them from any Apple device linked to the same Apple ID, ensuring continuity and convenience throughout your projects.
Frequently Asked Questions About MacBook Screenshots
1. How do I enable screenshot sound on my Mac?
To enable the shutter sound for your screenshots, go to the screenshot toolbar by pressing Command + Shift + 5. Click on “Options,” and from there, ensure the “Play sound” option is checked.
2. What happens if my MacBook screenshot is not saving?
If your MacBook screenshot is not saving, check your screenshot settings by using Command + Shift + 5 and verify that the save location is appropriately configured. You might also want to check storage space if your system is low on space.
3. How can I take a screenshot with a delay on my Mac?
Utilizing a delayed screenshot can be achieved through the screenshot toolbar. Press Command + Shift + 5, go to “Options,” and choose a delay time of 5 or 10 seconds to prepare whatever screen content you want before the screenshot is taken.
4. Can I change the default screenshot format on my Mac?
Yes, you can change the format for your screenshots by accessing the screenshot toolbar via Command + Shift + 5. In the “Options” menu, there are choices for different formats, including PNG, JPEG, and more.
5. Is it possible to take a screenshot of an active window on my Mac?
Absolutely! You can capture an active window by pressing Command + Shift + 4 and then tapping the space bar. Your cursor will change to a camera icon; clicking on the window you want to capture will save just that window to your desktop.
Key Takeaways
- Utilize built-in shortcuts like Command + Shift + 3 and Command + Shift + 4 for efficient screenshots.
- Configure screenshot settings to fit your preferences, including save location and file format.
- Edit and annotate screenshots using Preview to enhance clarity and communication.
- Organize and transfer screenshots effectively for streamlined accessibility.
- Share screenshots directly from the Mac’s features for quick collaboration.
Now that you are equipped with the knowledge on how to take a screenshot on MacBook, get started with capturing and sharing vital information effortlessly! If you’re interested in developing further expertise, explore third-party applications available specifically for increasing your screenshotting capabilities, or dive deeper into photo-editing features for an enhanced experience!