Effective Ways to Record Screen on Windows 10 for Professional Results in 2025
Effective Ways to Record Screen on Windows 10 for Professional Results in 2025
Understanding Windows 10 Built-In Screen Recorder
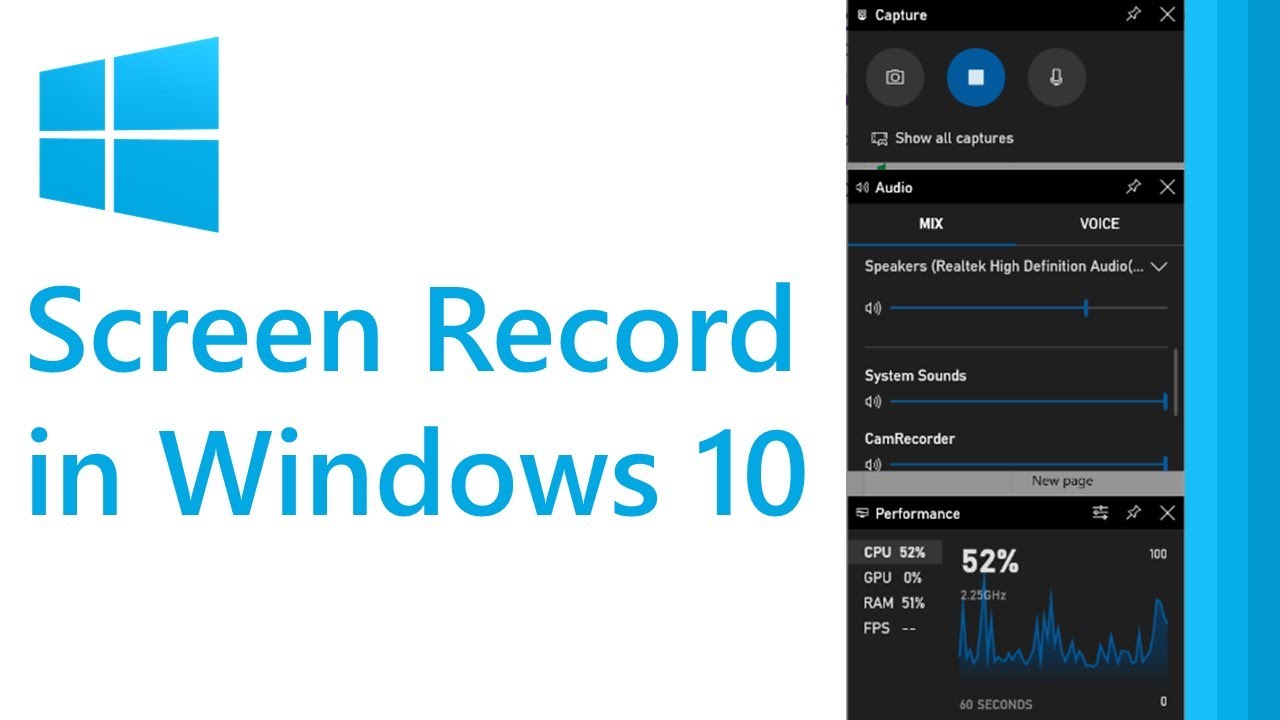
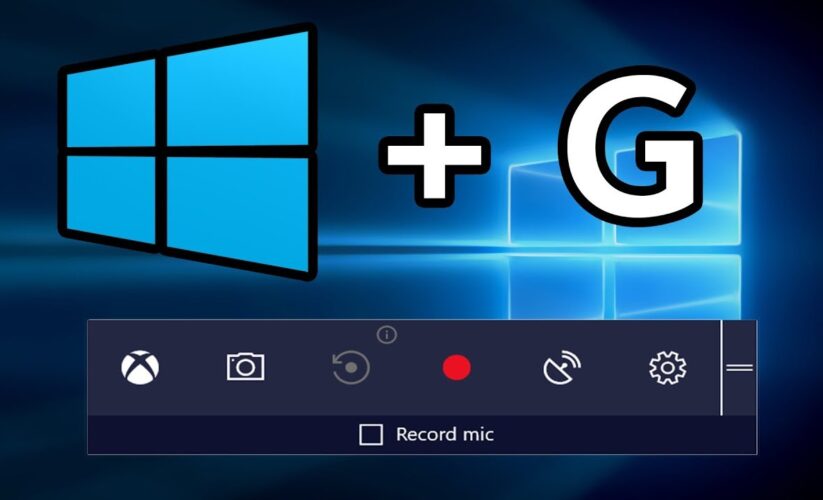
Windows 10 offers a robust **built-in screen recorder** commonly known as **Game Bar**, which is primarily designed for **gaming**, but its functionality extends to diverse screen capture needs such as tutorials or webinars. Activating Game Bar is straightforward; simply press Win + G, and the overlay will appear, allowing you to access various options. Before diving deep on **how to use Game Bar on Windows 10**, ensure that your graphics drivers are updated, as this can impact performance. Also, tailor your **screen recording settings in Windows 10** to fit your needs—adjust the video quality and audio preferences for optimal results.
How to Enable Game Bar for Screen Recording
To get started with recording your screen using Game Bar, you first need to ensure it’s activated. Start by going to Settings > Gaming > Game Bar. Toggle the switch to enable the Game Bar if it isn’t already. Additionally, familiarize yourself with the **keyboard shortcuts for screen recording on Windows 10** to seamlessly start and stop recordings without inhibiting your workflow. You can also add widgets for quick access to critical features like screen recording and audio adjustments, making the capturing process hassle-free. Whether you’re looking to **record gameplay on Windows 10** or a presentation, **Game Bar** is a versatile option.
Screen Recording Steps on Windows 10
Recording your screen on Windows 10 using Game Bar involves simple steps. Once Game Bar is enabled, follow these key actions: Press Win + G to bring up the overlay. Click on the **Record** button or press Win + Alt + R to begin capturing your screen. If you’re focused on recording audio as well, ensure that your microphone is functioning properly under the **Audio settings** of the Game Bar. After you’re finished recording, click the stop button or use the same keyboard shortcut. Your video will be saved under the **Videos** folder in a subfolder called **Captures**. This guide illustrates how easy it is to record screens with the built-in functionality of Windows 10.
Exploring Third-Party Screen Recording Software for Windows 10
While the **Windows 10 built-in screen recorder** is effective, there are scenarios where you might require additional features not supported by Game Bar. Choosing the right **screen recording software for Windows 10** can significantly enhance your recording capabilities, especially for professional needs. Popular software options include **OBS Studio**, known for its extensive features and customizability, and **Camtasia**, which combines screen recording with powerful editing tools. Evaluating the **best screen recorder for Windows 10** based on your specific requirements, whether it’s capturing gameplay or recording meetings, ensures a satisfying recording experience.
Best Screen Recording Tools for Windows 10
Each screen recording software offers unique features. For example, **OBS Studio** stands out for its ability to stream live content alongside recording. It provides extensive support for different sources like the desktop, applications, and even webcam integration. Conversely, **Camtasia** and **Snagit** are user-friendly options especially suited for creating educational content. They allow users to annotate, edit, and enhance recordings post-capture. Whichever software you prefer, having important functionalities like **screen recording with audio on Windows 10** will allow for comprehensive and polished video outputs.
How to Edit Screen Recordings on Windows 10
Editing your screen recordings can elevate their professionalism. Tools like Adobe Premiere Pro and Camtasia offer comprehensive editing capabilities. Users can trim unnecessary footage, add captions, adjust brightness, or include visual effects to make the videos engaging. If your focus is on **how to edit screen recordings on Windows 10**, pay special attention to audio syncing and transition effects for seamless viewing experiences. Effectively editing your captures can be pivotal in producing high-quality tutorial or promotional videos that resonate well with your audience.
Maximizing Usage of Recording Features
Recording on Windows 10 isn’t limited to gaming or tutorials; many professionals utilize it for **recording Zoom meetings on Windows 10** or **capturing presentations**. However, ensuring you have the right settings configured is crucial for achieving professional results. Always check your screen resolution and the audio quality before recording. Lighting conditions (if you’re using a webcam) can also influence overall video quality. A brief optimization session can result in significantly better outputs.
Screen Recording Tips for Windows 10
To achieve the best results while screen recording, consider the following tips: Close unnecessary applications to minimize frame drops during recording. Adjust your video bitrate settings appropriately depending on your output needs—higher bitrates translate to better quality but larger file sizes. Additionally, utilizing **screen recording shortcuts on Windows 10** can streamline your workflow, allowing you to start and stop capture sessions quickly without navigating through menus.
How to Record Streaming Video on Windows 10
Streaming platforms often restrict the downloading of content, creating the need for effective **screen recording methods**. One familiar software, **OBS Studio**, is highly efficient for **recording streaming videos** due to its flexibility and setup. Remember to comply with legal requirements on content usage when recording streams. Proper oversight on recording settings before initiating your session can result in clean captures without disruptions.
Conclusion: Achieving Professional Results in Screen Recording
By utilizing the built-in screen recorder or popular **screen recording software for Windows 10**, coupled with the right techniques and settings, you can enhance the quality of your recordings. Whether for producing tutorial videos, recording gameplay, or sharing important meetings, Windows 10 provides a myriad of options that help cater to your needs. Embrace these practices and recording tools in 2025 for a more professional output.
Key Takeaways
- Utilize the **Game Bar** for quick screen recordings.
- Explore various **screen recording software** for advanced features.
- Editing capabilities contribute significantly to video quality.
- Make use of tips and tricks specific to your recording needs.
- Always check settings to ensure optimum performance.
FAQ
1. How do I record desktop screen on Windows 10?
To record your desktop screen on Windows 10, you can use the **Game Bar**. Press Win + G to open the overlay, and click the **Record** button. In addition, ensure desktop applications are allowed by toggle settings in Game Bar.
2. Can I record calmly without software on Windows 10?
Yes, Windows 10 offers a built-in tool to record screens through the **Xbox Game Bar** feature with no third-party installation needed. Just activate it via Settings and record using the designated shortcuts.
3. What are the best settings for screen recording on Windows 10?
The ideal settings involve choosing the right video quality and frame rates appropriate to your content. A frame rate of 30 fps is standard, while a bitrate between 4000 to 6000 kbps ensures high-quality recordings.
4. Is it possible to record meetings on Windows 10 using third-party software?
Absolutely! Most meeting platforms have built-in features, but you can also employ tools like **OBS Studio** or **Camtasia** for more intricate requirements like overlays or picture-in-picture effects.
5. How can I include audio when recording screen on Windows 10?
For audio inclusion during screen recording on Windows 10, ensure the microphone is enabled in the **Game Bar** settings. Choose the audio source you wish to capture either from your system sounds or your microphone.